本部分說明
以下為專案管理員主題:設定、成員、表單類型、儀表板與整合。此處變更會影響整個專案。
創造
建立表單類型
本指南將引導您從頭開始建立新的表單類型。您將定義基本資訊、新增問題、配置工作流程並發布。
為了更快地設置,請嘗試
人工智慧表單創建者
它從自然語言描述產生表單類型。
第1步:基本訊息
點擊開始
“建立表單類型”
在「表單類型」頁面上。
輸入以下內容:
姓名
(必需的)
描述性名稱,例如“動火作業許可證”或“日常安全檢查表”
程式碼
(選修的)
表單編號的短標識符,例如「HWP」建立「HWP-001」等表單
描述
(選修的)
何時應使用此表單類型的簡要說明
第二步:外觀

選擇視覺元素來幫助使用者識別此表單類型:
圖示
從數百個圖示中進行選擇來代表此表單類型
顏色
選擇將出現在卡片和徽章上的顏色
為每種表單類型使用不同的圖示和顏色可以幫助使用者快速找到他們需要的內容,特別是在具有多種表單類型的項目中。
第 3 步:新增問題

定義表單將收集哪些資訊:
點擊“新增問題”
開啟問題編輯器
選擇問題類型
文字、數字、日期、文件上傳、簽名等
配置問題
設定標籤、佔位符、所需狀態、驗證規則
設定可見性/編輯權限
控制誰在每種狀態下查看/編輯此問題
對每個問題重複
根據需要拖曳以重新排序問題
看
問題類型
有關每種可用類型的詳細資訊。
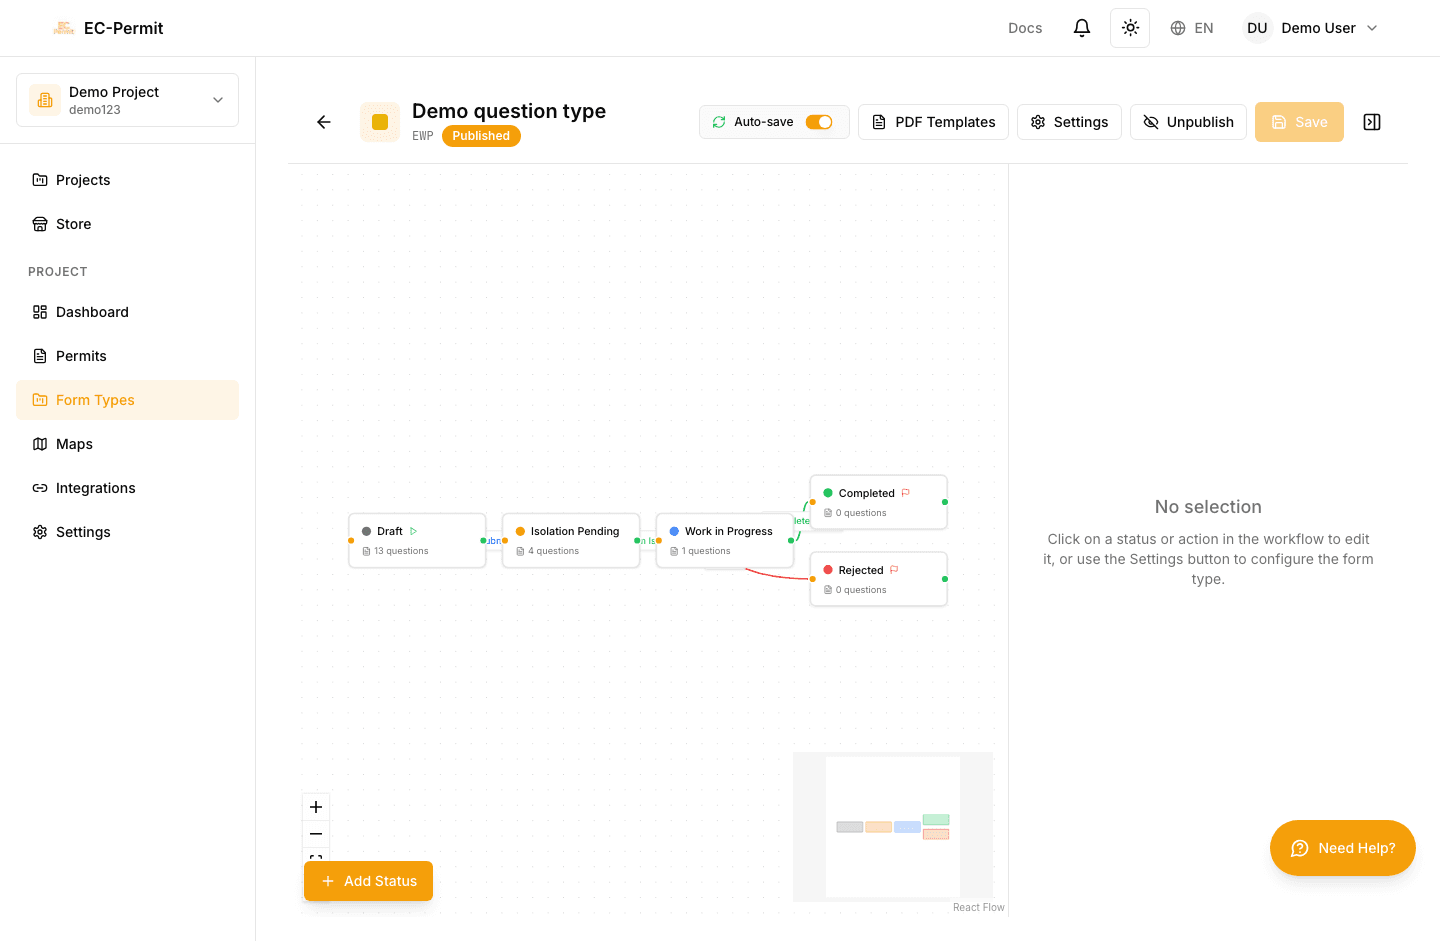
第 4 步:配置工作流程

使用視覺化工作流程編輯器設計審批流程:
工作流程元素:
狀態
表單可能處於的狀態(草稿、待批准、已批准等)
行動
狀態之間的轉換(提交、批准、拒絕等)
初始狀態
新表格開始的地方(通常是“草稿”)
最終狀態
沒有進一步操作的結束狀態(已批准、已取消等)
看
工作流程編輯器
有關工作流程設計的詳細說明。
第 5 步:審核並發布

發布之前,請檢查您的表單類型:
清單:
✓ 新增了所有基本問題
✓ 必填欄位已正確標記
✓ 工作流程至少有一種初始狀態與一種最終狀態
✓ 操作具有適當的權限集
✓ 為每個狀態配置問題可見性
準備好後,點擊
“發布”
。表單類型立即可用於建立表單。
在向您的團隊宣布之前,請考慮建立測試表格。這可以讓您驗證工作流程是否如預期運作。
發布後

發布後,您仍然可以:
新增問題(現有表單沒有答案)
編輯問題標籤和描述
新增新的狀態和操作
修改權限
刪除問題或更改工作流程時要小心,因為這會影響現有表單。
表單類型設計器
工作流程編輯器
後續步驟
建議繼續閱讀: