本部分說明
本指南涵蓋日常工作:專案、表單、核可、通知與匯出。請使用側邊欄或下方卡片進入各主題。
文件
普通用戶
項目導航

項目導航
登入後,您將看到您有權存取的所有項目的清單。了解如何查看、切換和管理您的專案。

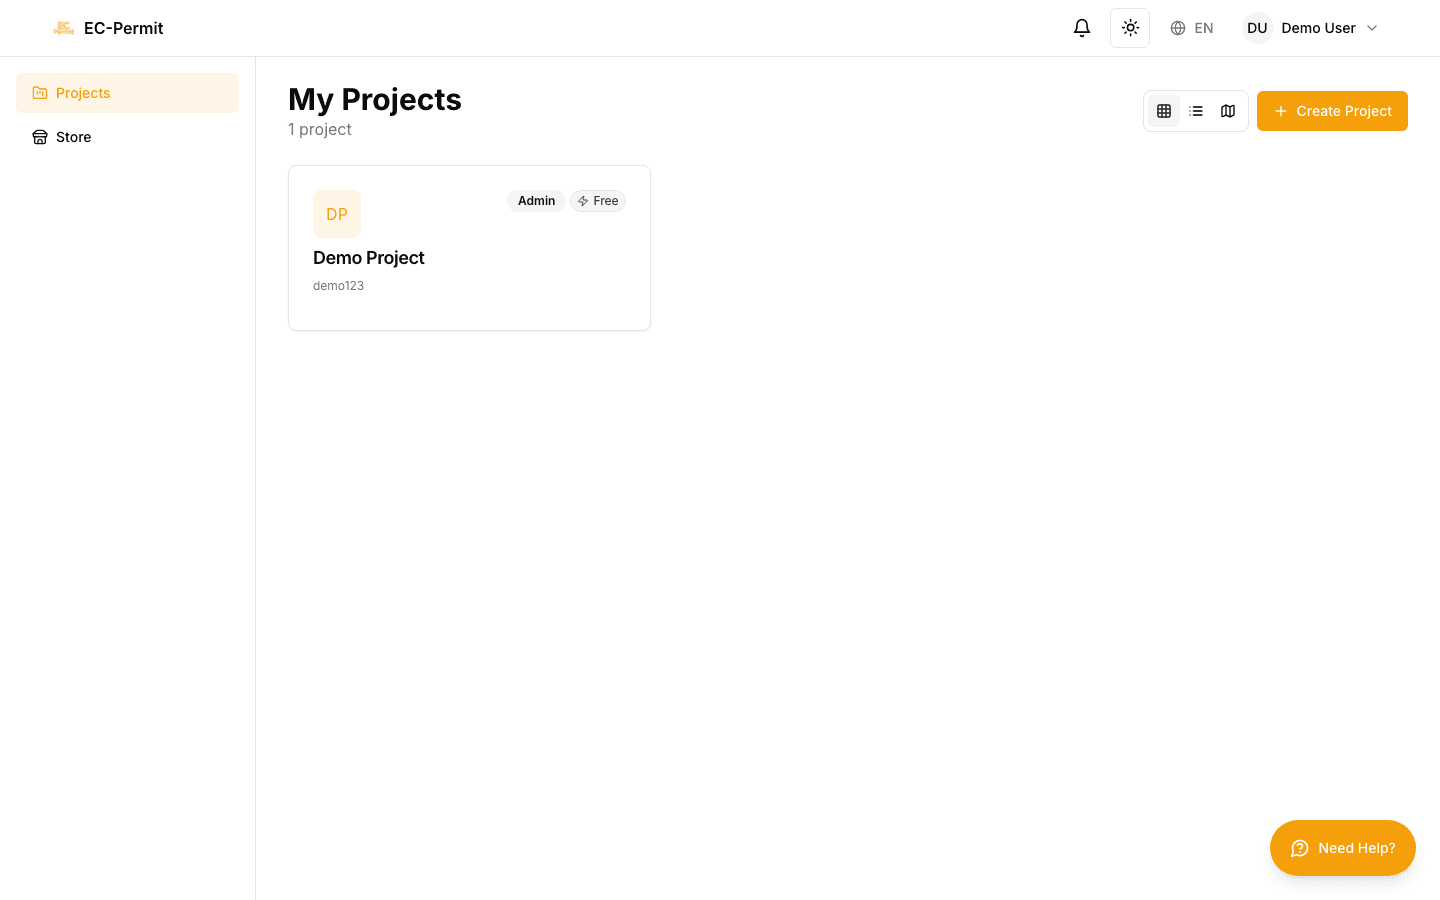
專案頁面
專案頁面是您登入後的大本營。它顯示您所屬的所有項目,關鍵訊息一目了然。
項目卡資訊
每個項目卡顯示:
- 項目標誌
- 視覺標識符(可由管理員自訂)
- 項目名稱
- 專案全名
- 專案程式碼
- 短標識符(例如“BLD-A”)
- 地址
- 帶有地圖圖釘圖示的實體位置
- 完成日期
- 預計專案結束日期
- 管理員徽章
- 顯示您是否是該項目的管理員
貴賓徽章

:表示訂閱級別
如果項目的服務即將過期,您將看到橙色或紅色警告指示器。請聯絡您的專案管理員以續訂訂閱。
視圖模式
使用右上角的切換按鈕在不同的視圖模式之間切換:
網格視圖
視覺卡佈局。最適合透過徽標和名稱快速掃描項目。
清單視圖
緊湊列表格式。在螢幕上顯示更多項目,並在行中顯示關鍵詳細資訊。

地圖視圖
地理景觀。根據地址在地圖上查看項目。
打開專案
若要開啟項目並存取其表單:
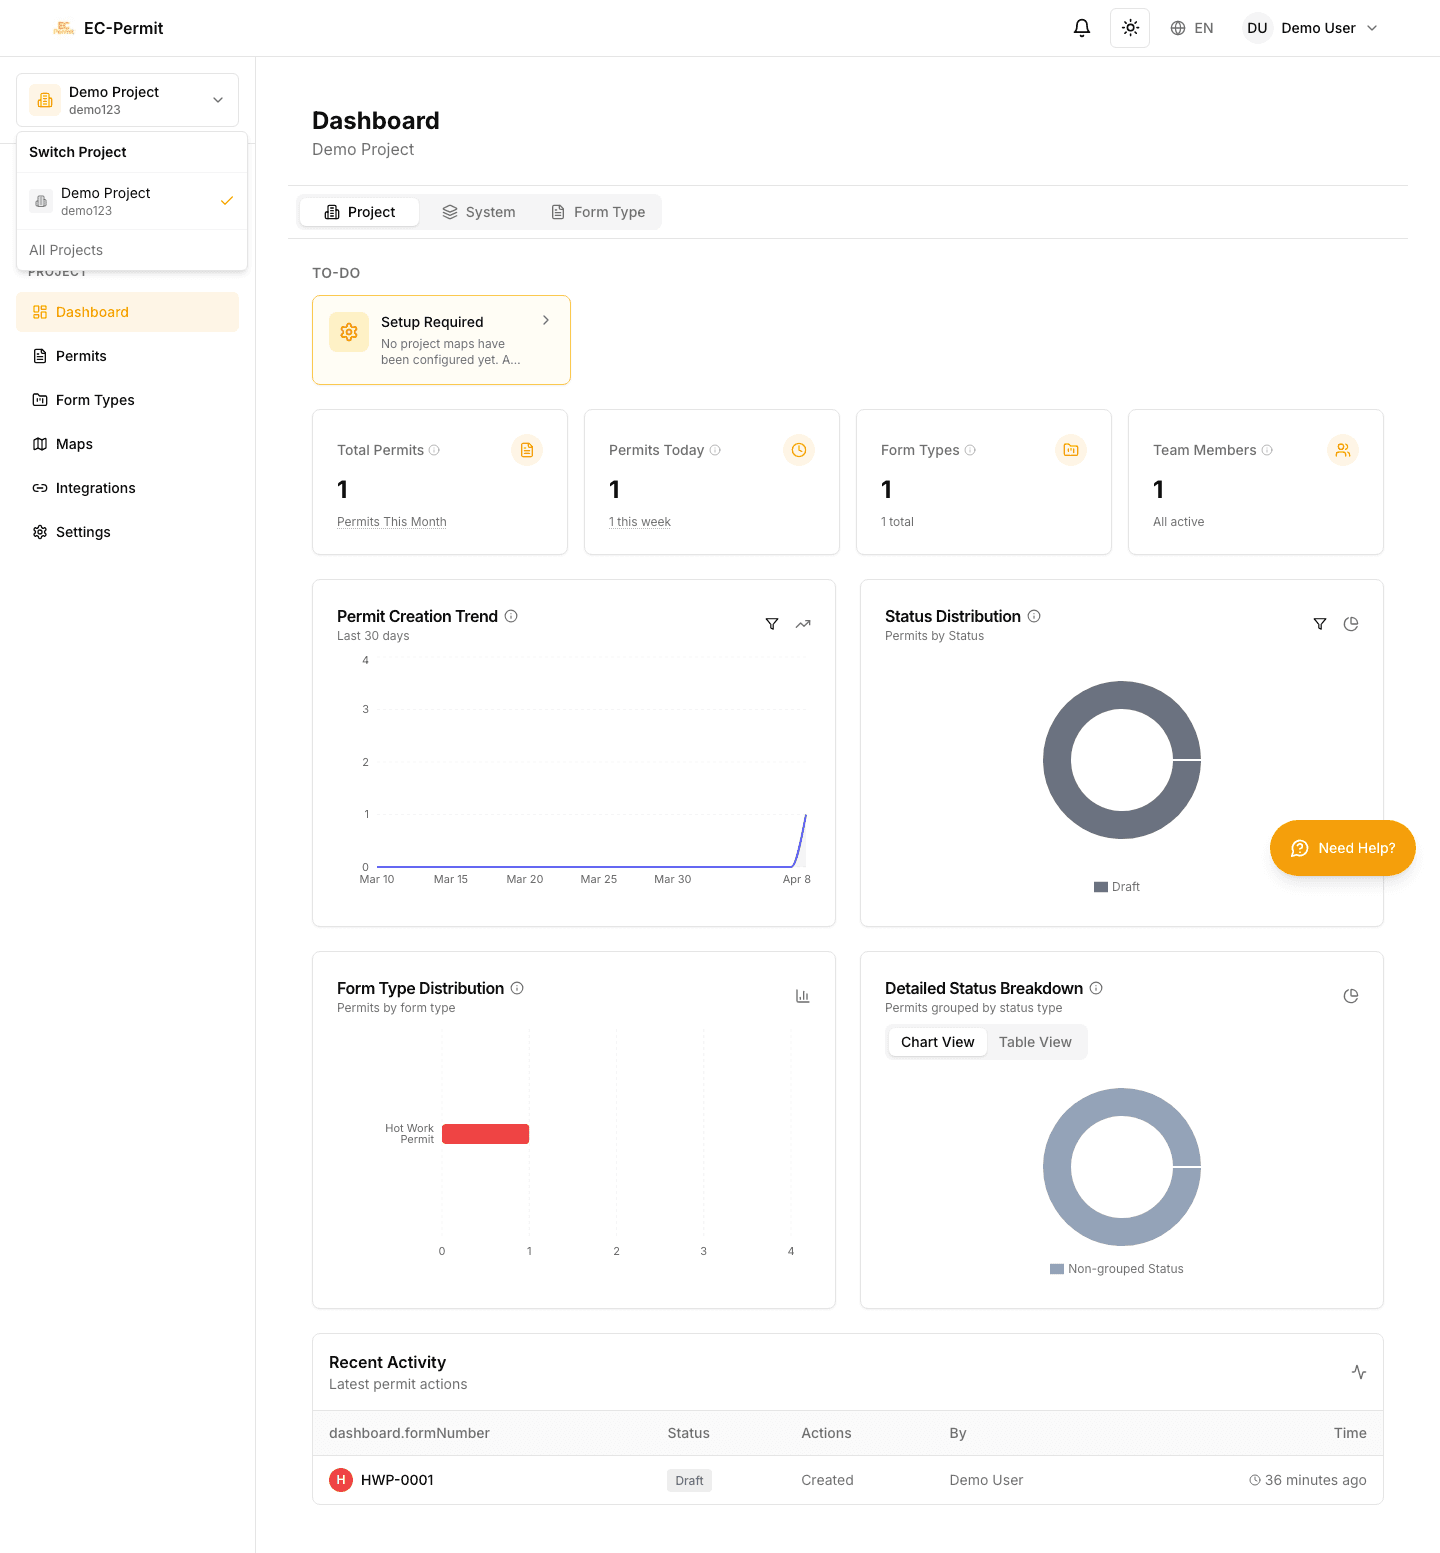
在您的清單中找到該項目

按一下項目卡或清單項
您將被帶到該專案的儀表板
切換項目
進入一個項目後,您可以使用以下命令快速切換到另一個項目
項目切換器
查看側邊欄頂部目前項目名稱
按一下項目名稱以開啟下拉列表

從清單中選擇另一個項目
您還可以隨時返回“項目”頁面,方法是單擊標題中的姓名/頭像並選擇“我的項目”,或使用儀表板中的後退按鈕。
創建專案
如果您有建立專案的權限:
點選
“創建專案”
按鈕
輸入項目名稱(必填)
新增項目代碼和地址(可選)
點選

“創造”
您將自動成為您建立的任何專案的管理員。
存檔項目
已完成或不活動的項目可由管理員存檔。存檔項目:
出現在底部單獨的“已存檔”部分中
是唯讀的(您可以查看但不能修改表單)
如果需要,可以由專案管理員取消存檔
登入
使用表單
後續步驟
建議繼續閱讀: