快速入門
只需幾分鐘即可上手 EC-Permit。本指南將帶您建立第一個專案與表單。
開始前請確認已有 EC-Permit 帳戶。若尚無,請在此註冊——免費!
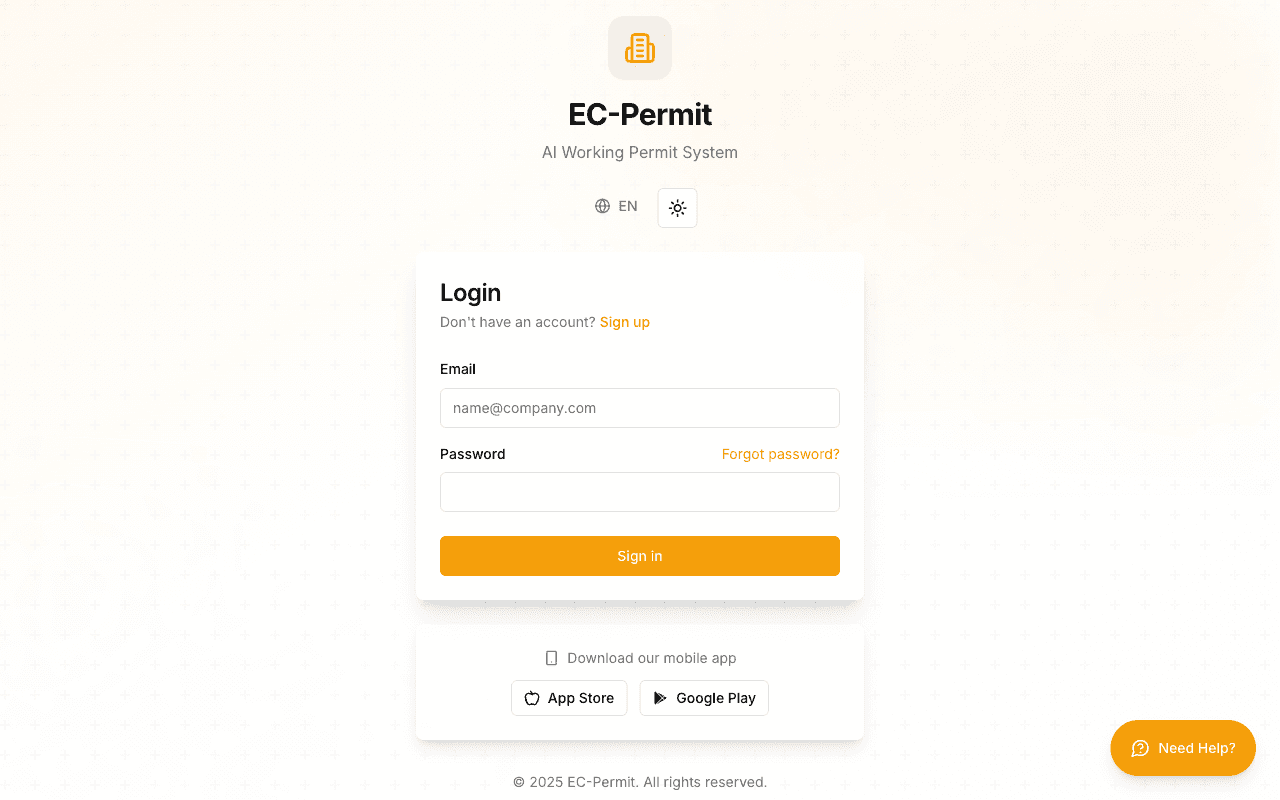
登入 EC-Permit
使用電子郵件與密碼登入 EC-Permit。
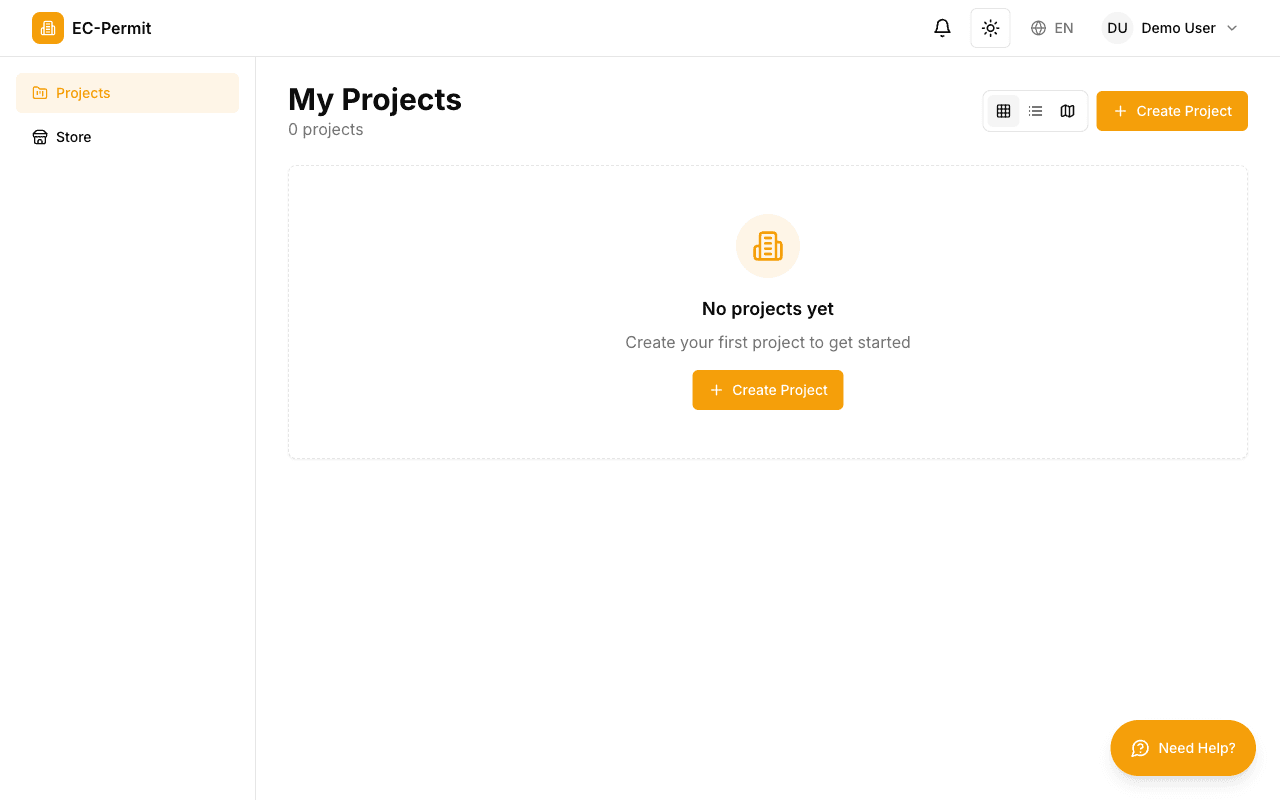
步驟 1:建立第一個專案
登入後將看到專案頁。點選建立專案開始。
填寫專案詳細資料:
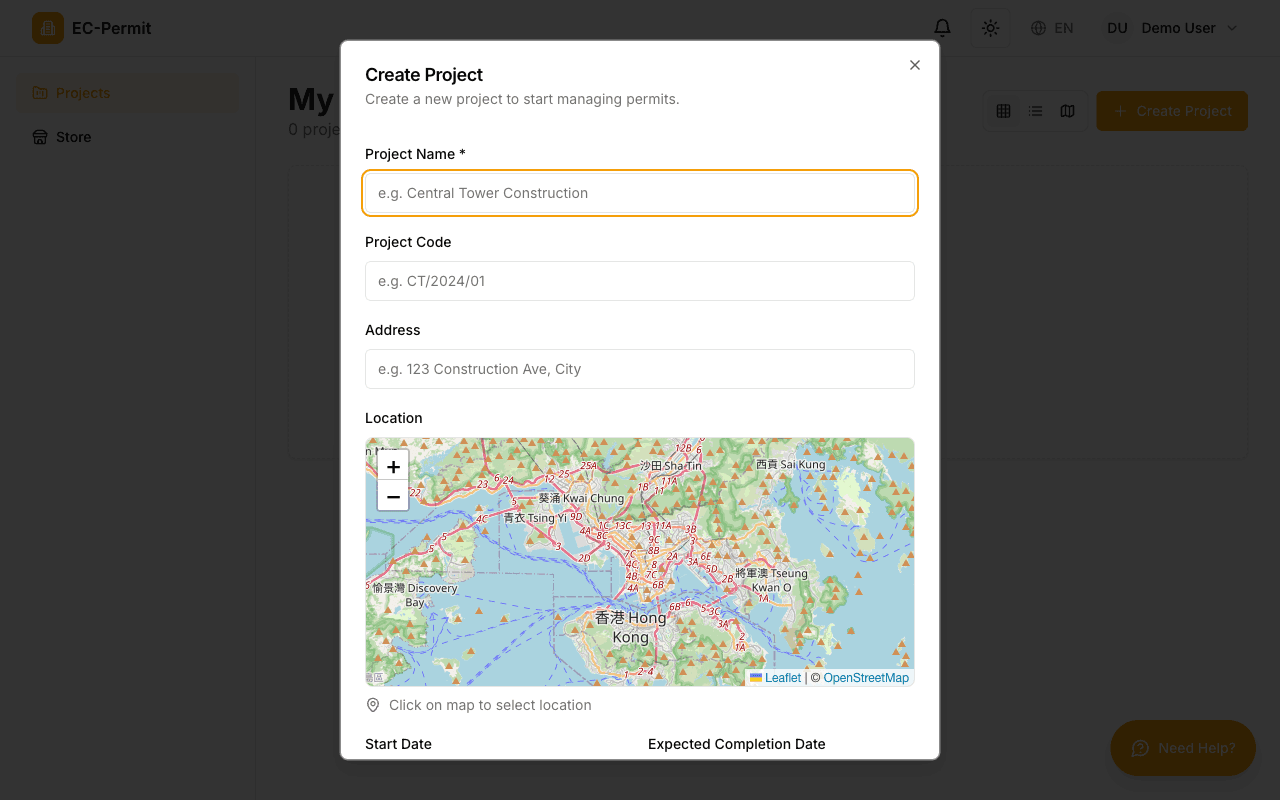
- 專案名稱: 描述性名稱(如「A 棟施工」)
- 專案代碼: 簡短識別碼(如「BLD-A」)
- 地址: 專案位置
- 位置: 在地圖上點選以設定精確位置
- 日期: 開始與預計完工日期
步驟 2:建立第一個表單類型
專案建立後,在側欄進入表單類型。
- 1點選建立表單類型
可手動建立或使用 AI 助理快速設定。
- 2填寫基本資訊
輸入名稱(如「作業許可證」)並選擇圖示與顏色。
- 3設定工作流程
新增如「草稿」「待核准」「已核准」等狀態。
- 4新增題目
新增需要使用者填寫的欄位。
- 5發佈
點選發佈使表單類型可供使用。
專業提示
使用AI 表單建立以自然語言描述需求,由 AI 產生表單類型!
步驟 3:建立第一張表單
表單類型發佈後,即可建立表單:
- 在側欄進入表單
- 選擇表單類型
- 點選建立表單
- 填寫必填欄位
- 點選提交或適當動作
後續步驟
建立第一張表單後,可繼續探索: