本部分說明
以下為專案管理員主題:設定、成員、表單類型、儀表板與整合。此處變更會影響整個專案。
管理用戶
控制誰有權存取您的專案以及他們可以執行哪些操作。了解如何邀請團隊成員、指派角色和管理權限。
使用者頁面
點選進入用戶管理
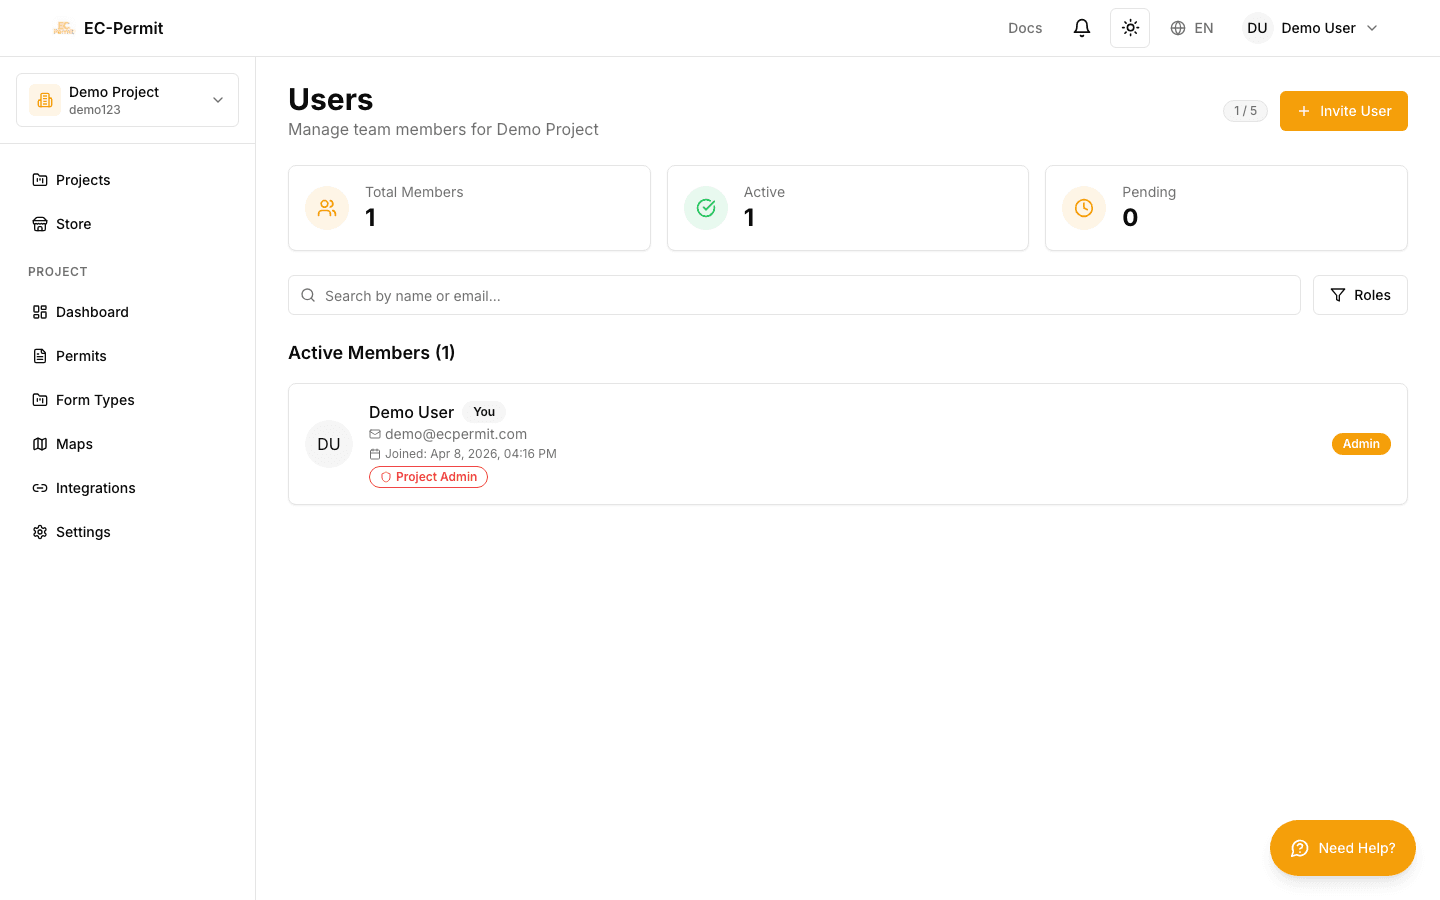
使用者
在側邊欄中。此頁面顯示:
所有目前專案成員
他們的角色和權限
待處理的邀請
用戶狀態(活躍/非活躍)
邀請用戶

若要將新團隊成員新增至您的專案:
點擊“邀請用戶”
開啟邀請對話框
輸入他們的電子郵件地址
他們將收到邀請的電子郵件
選擇角色
選擇他們將擁有的權限
發送邀請
他們將收到一封電子郵件,其中包含加入鏈接
邀請將在 7 天後過期。如果有人尚未接受,您可以從待處理的邀請清單中重新發送邀請。
分配角色

每個使用者必須有一個角色來決定他們的權限:
行政
完全存取所有功能,包括使用者管理、表單類型設計和專案設定。什麼都能做。
主管
可以批准/拒絕表單、查看報告以及管理日常營運。無法修改表單類型或項目設定。
使用者
可以建立和提交表單。僅限於基本操作。非常適合現場工作人員和普通員工。
觀眾
只讀訪問。可以查看表單,但無法建立、編輯或執行操作。對審計員或利害關係人有用。
需要更具體的權限?您可以建立
自訂角色
完全具有您所需的權限。
更改使用者角色

要更改使用者的角色:
在用戶清單中尋找該用戶
點擊角色下拉清單或編輯按鈕
選擇新角色
確認變更
角色變更立即生效。使用者的權限無需登出即可更新。
刪除用戶

若要從項目中刪除使用者:
尋找清單中的用戶
點選刪除/刪除按鈕
確認刪除
刪除用戶並不會刪除他們的資料。他們創建的表格保留在系統中,歷史記錄顯示他們的行為。他們只是失去了對該項目的訪問權。
批量操作

對於管理許多用戶:
- 大量邀請
- 輸入多個電子郵件地址(每行一個)
- 匯出使用者列表
- 下載所有使用者及其角色的 CSV
- 搜尋/過濾
- 按姓名、電子郵件或角色尋找用戶
使用者限制

您可以邀請的用戶數量取決於您的訂閱:
10
免費套餐
無限
VIP
無限
企業
項目設定
管理角色
後續步驟
建議繼續閱讀: